How to Add a Record and Access Record Communications in Gridlex Zip?
Published | Oct. 10, 2023, 2:31 p.m.
How to Add a Record in Gridlex Zip?
Follow the below steps to add a record in Gridlex Zip.
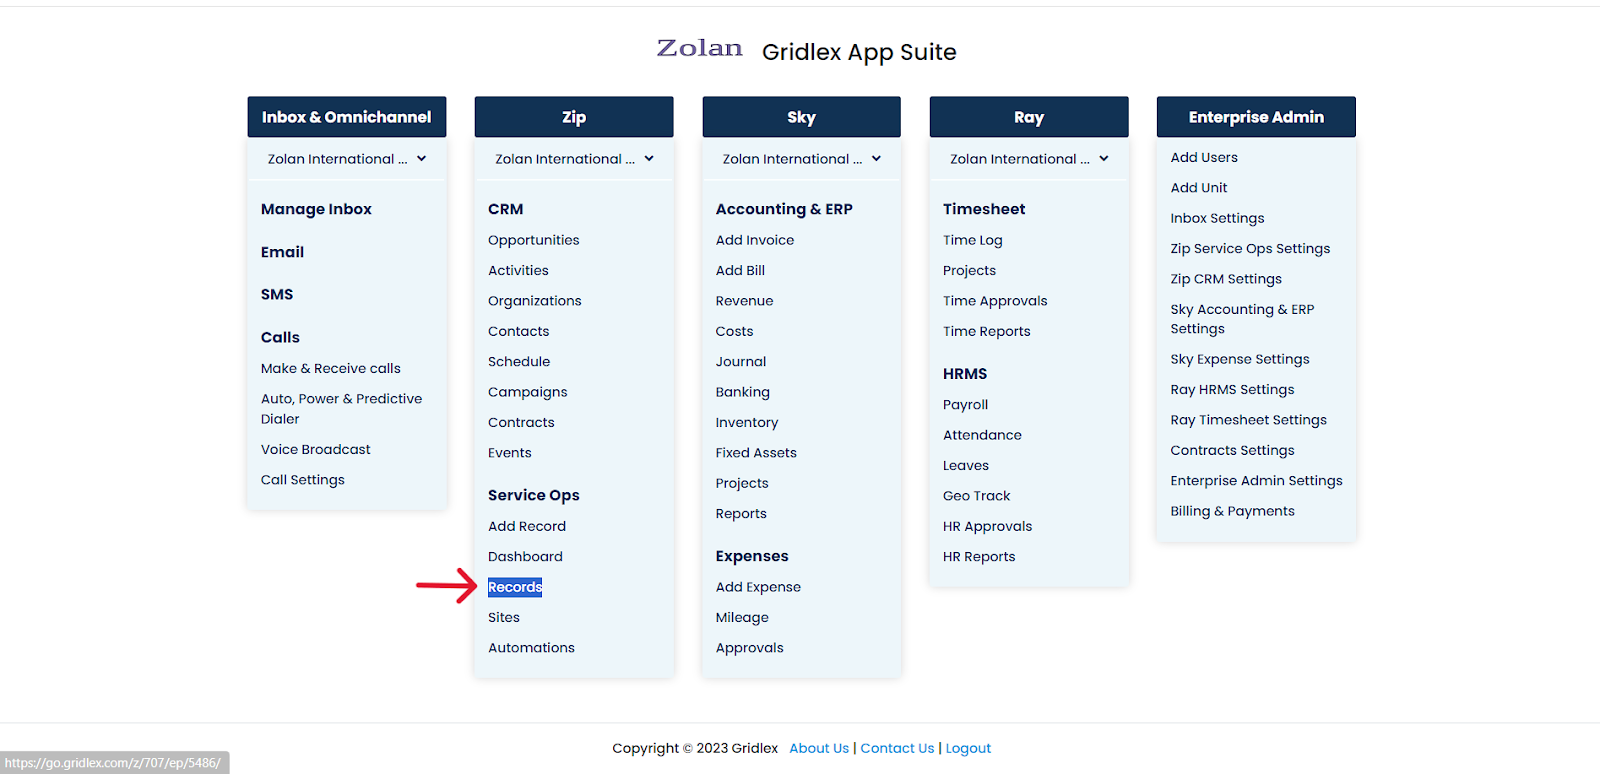
Step 1: Log in to your Gridlex App Suite account and click the "Add Record" option under the Zip tab.

Step 2: Choose a model from the drop-down or create a new Model.

Step 3: Add the Record or Email Subject and Reference Description or Email Message.

Step 4: Select the record status, priority, and label using the dropdowns.
Note: If you are creating a record on behalf of a customer, you can select the channel from which you received the customer’s issue/inquiry.

Step 5: Assign teams/units you want to work on the record by selecting them from the dropdown.

Step 6: You can also assign a user to the record. To do so, search the user’s name and click “Assign.”
Note: Unlike units, you can only assign a single user to a record.

Step 7: You can associate counterparty organizations by searching for the organization's name, ID, address, or any other details and then clicking “Associate.”
Note: If the record you are creating is relevant to a contract you have with an organization, referred to as counterparty organization here, you can add them in this field.

Step 8: Similarly, you can associate the record with any other organization by searching the organization name, ID, address, or any other details and clicking “Associate.”

Step 9: You can also associate contacts from the CRM to the record by searching the contact name, ID, phone number, or any other details and clicking “Associate.”

Step 10: If this record is related to a contract, you can associate it here by searching the contract name and clicking “Associate.”

Step 11: If you have any attachments, upload them, then click “Add Record.”

Your record has been added, and you can view and track it under the “Records” tab.
How to Access Record Communications in Gridlex Zip?
Follow the below steps to access record communications in Gridlex Zip.
Step 1: Log in to your Gridlex App Suite account and click the "Records" option under the Zip tab.
Step 2: Click on the record ID or record subject of the record you want to view communications for.

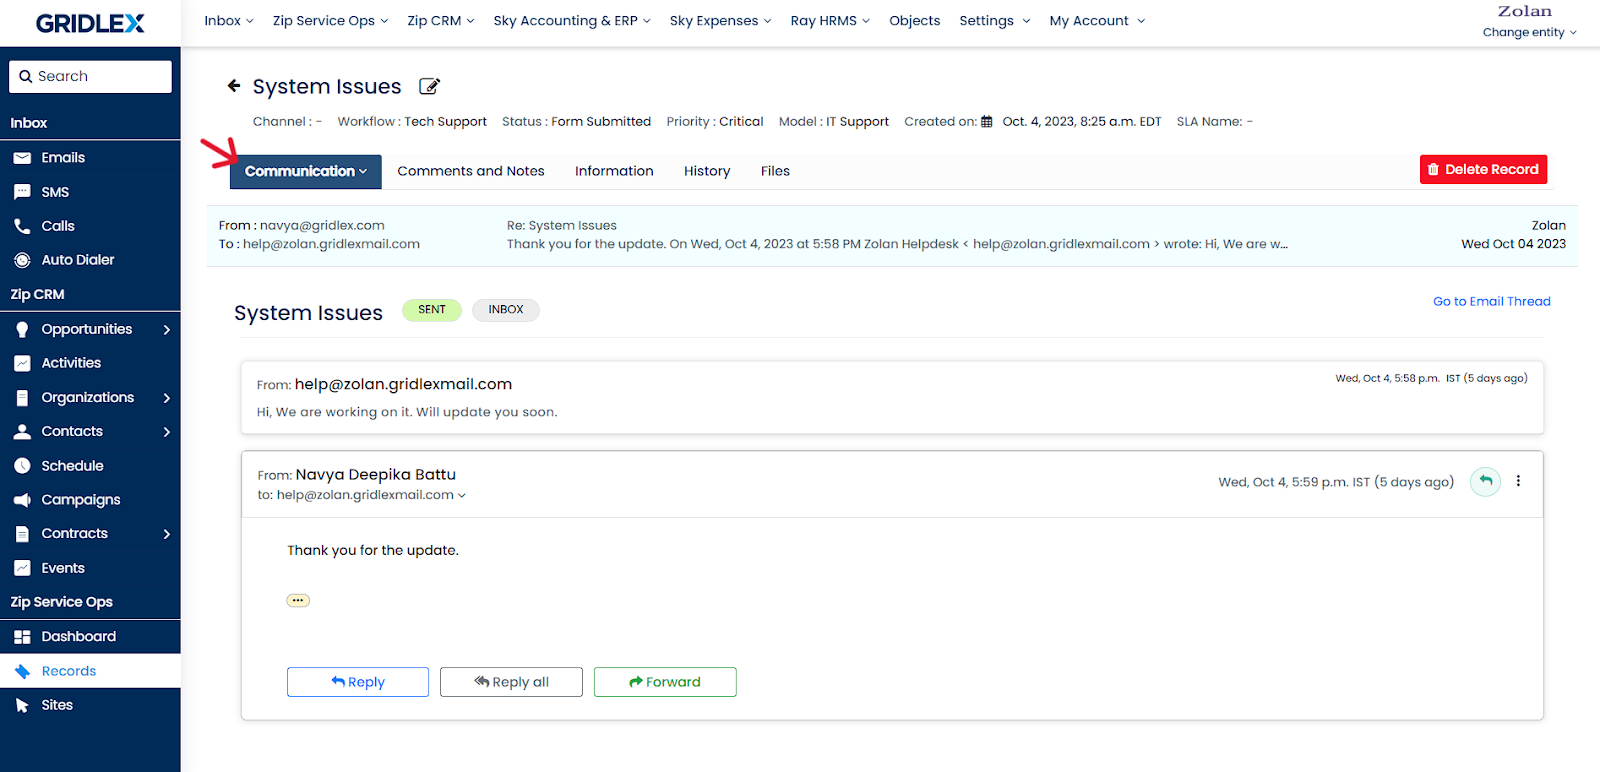
Step 3: Hover over the “Communication” tab and click “New Conversation” to start a new email thread.

Note: If you want to view all the previous email threads, click the “Communications” tab. You can reply to or forward emails according to your requirements. Refer to the screenshot below for more information.
Step 4: Now you can draft your email. First select the inbox from which you want to start the conversation.
Note: In the Gridlex app suite, you can create shared inboxes for various purposes, this allows users to send and have access to all emails related to a specific criteria all in one place. For instance, you create an inbox for leads, and whenever there’s an inbound lead lands in this inbox, everyone who has access to this inbox will be able to see the email. For any internal discussions related to leads, users will send them to this inbox.

Step 5: Select the email address from which you want to send the email.
Note: A shared inbox can have a number of email IDs. You can select an email ID based on your requirement.

Step 6: Enter the email address to which you want to send the email and click on the “+” icon to add it.

Step 7: Now, choose your message template and message snippets according to your preference.

Step 8: Add the email subject and description.
Note: By default the subject and description will the record subject and description. And if you choose a message template, the record subject and description will be automatically added, but you can still edit them.

You can also add attachments to the email per your preference.

If you wish to associate contacts or organizations to the Record, click on “Associations” and you can search and add them.
Step 9: Once done, click “Send.”

You have successfully added a record and accessed record communications in Gridlex Zip. You can now view, track, and manage the record whenever needed.